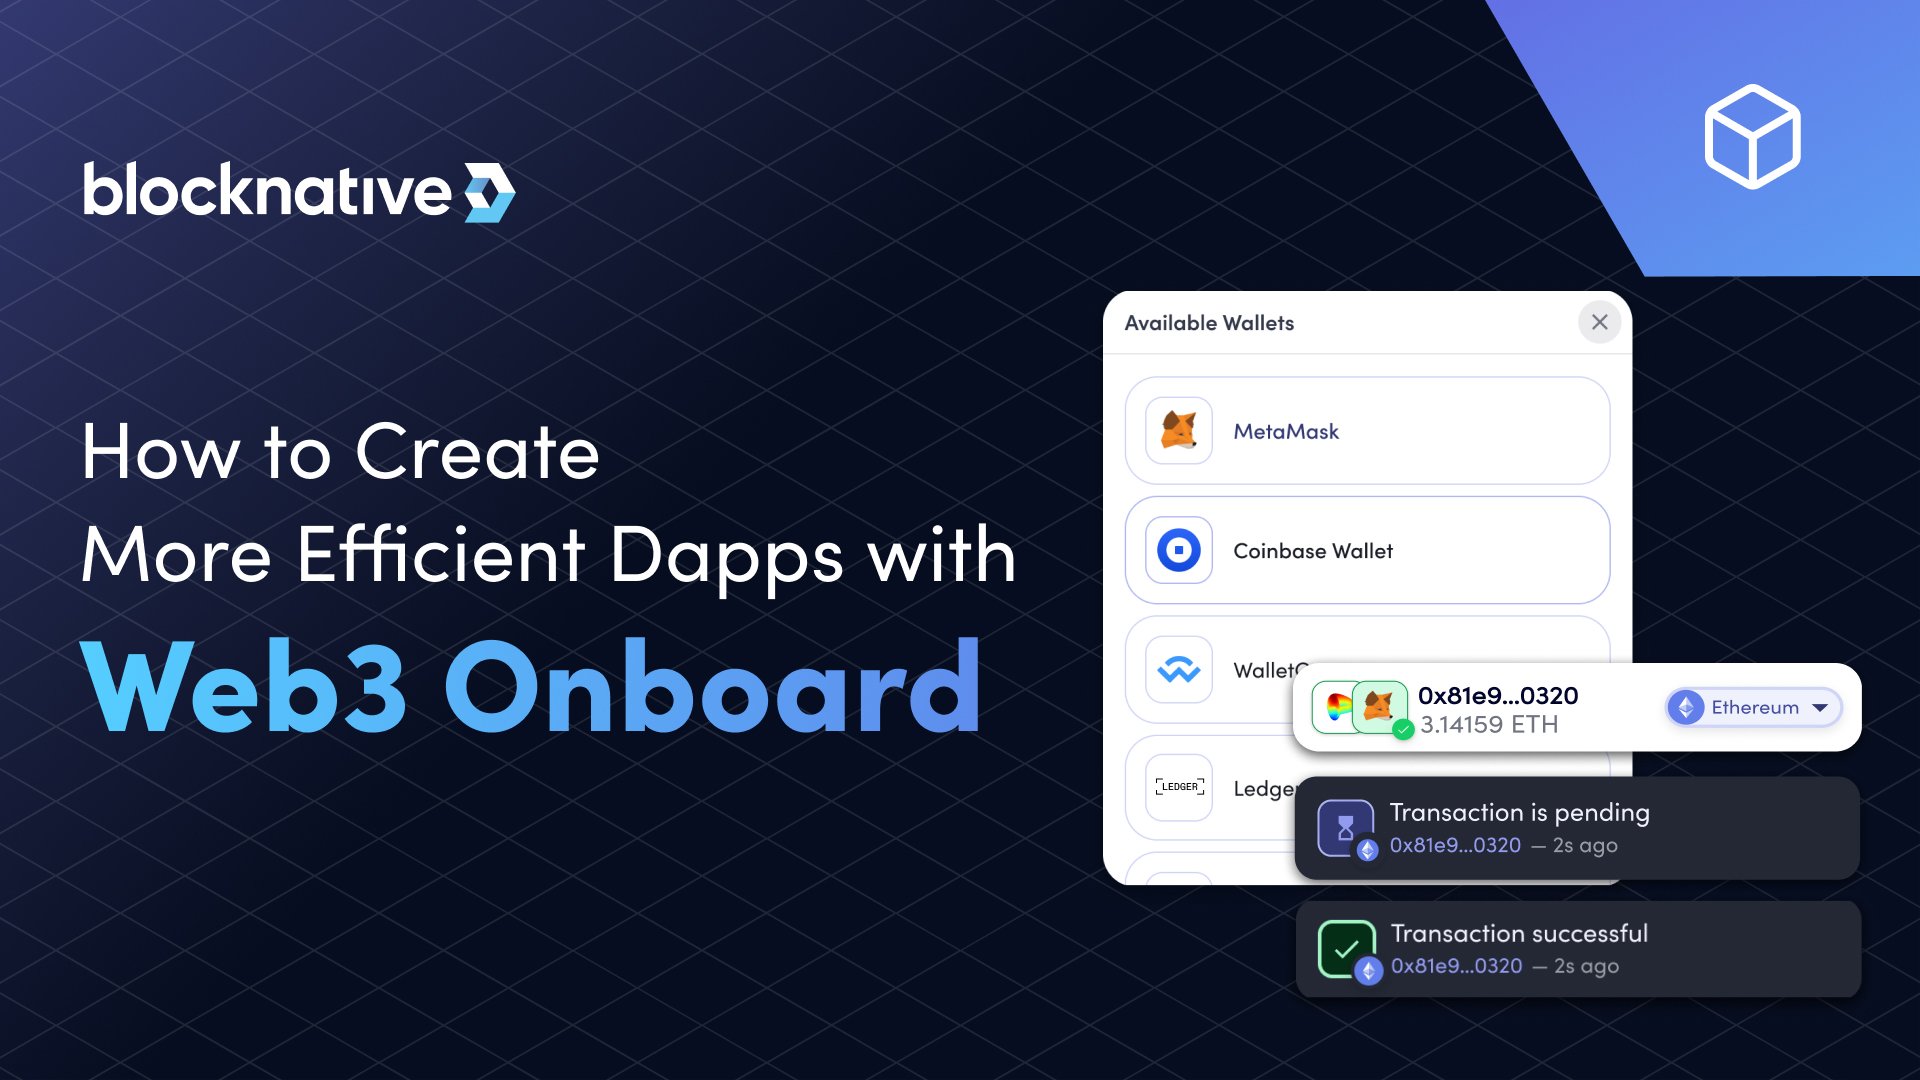
One of the goals of web3 is to make financial services more accessible to all. To achieve this, web3 developers need to ensure their dapps are optimized for all types of users. For example, many around the world still access the web through low-powered, low bandwidth devices. Not optimizing for this can prevent millions of potential users from having frictionless access to the many innovative ideas being built in the space. This is why we created Web3 Onboard—a free, open-source, framework-agnostic library— that makes it easy for developers to build efficient, user-friendly dapps.
In this article, we will look at:
- The importance of having a smooth end-user experience
- The relevance of bundle size as a metric to assess the end-user experience
- How to optimize your dapp with Web3 Onboard
How to Improve Dapp Efficiency for a Better User Experience
Creating an efficient gateway for new and existing users to connect their wallets to your dapp is vital for your app's growth. Connecting their wallet is necessary for them to interact and perform transactions. First impressions are lasting, and the longer it takes your application to load, the less likely users will want to wait. So, how do you optimize the onboarding experience?
You can integrate several web3 wallets like Metamask, WalletConnect and Coinbase yourself, but this will significantly bloat your dapp size, slowing down load times. Instead, developers should incorporate a powerful web3 library like Web3 Onboard that empowers you to serve users regardless of which wallet they own or chain you build on.
Here are the top three ways Web3 Onboard’s powerful connect wallet button can help you create a more efficient web3 app while still providing support to as many wallets as possible.
1. Implement A Module System
With Web3 Onboard, we separated all supported wallets into distinct modules. As a result, our codebase is better organized and we are able to scale our wallet and network chain support efficiently – providing more value for developers.
This also means that you only include the wallet modules you want to support on your dapp. For example, if you want to provide support for many EVM-compatible wallets like Metamask, GameStop, and Binance Smart Wallet then you only need to install the Onboard core and injected wallet modules, as shown below:
npm i @web3-onboard/core @web3-onboard/injected-wallets
You can then import these specific modules into your app:
import Onboard from '@web3-onboard/core'
import injectedModule from '@web3-onboard/injected-wallets'
const injected = injectedModule()
const onboard = Onboard({
 wallets: [injected],
 chains: [
   {
     id: '0x1',
     token: 'ETH',
     label: 'Ethereum',
     rpcUrl: 'https://mainnet.infura.io/v3/KEY'
   },
   {
     id: '0x89',
     token: 'MATIC',
     label: 'Polygon',
     rpcUrl: 'https://matic-mainnet.chainstacklabs.com'
   },
   {
      id: 10,
      token: 'OETH',
      label: 'Optimism',
      rpcUrl: 'https://mainnet.optimism.io'
   }
 ],
 accountCenter: {
   desktop: {
     position: 'topRight',
     enabled: true,
     minimal: false
   }
 }
})


async function connectWallet() {
 const wallets = await onboard.connectWallet()
}

function App() {
 return (
   <div>
       <button
         className="App-link"
         onClick={connectWallet}
       >
         Web3-Onboard
       </button>
   </div>
 );
}
export default App;

Currently, our modules support over 35 software and hardware wallets while providing out-of-the-box compatibility with leading L1 and L2 protocols like Ethereum, Polygon, Fantom, Optimism, and Binance Smart Chain. Here’s a comprehensive list of injected wallets we support.
Javascript UI developers can also use our custom React or Vue modules instead.
npm i @web3-onboard/react @web3-onboard/injected-wallets
2. Exclude External Dependencies
Adding an external dependency to a project can increase build size and time. This is why we have taken great care to ensure that none of Web3 Onboard’s external dependencies are included in the various packages.
This means that you can use bundlers like rollup, parcel, or webpack that utilize tree-shaking— a process that uses dependency graph mapping to analyze and include only the code logic that your app uses. This functionality, when properly implemented, allows for faster application deployment and load times.
For example, in our common module, we use the rollup bundler external option to exclude sizable 3rd party libraries from our final bundle size while leaving their respective imports in place.
external: ['joi', 'rxjs', 'ethers', '@ethereumjs/common',
'bignumber.js']
If you wanted to access a connected user wallet provider in order to interact with Ethereum smart contracts, you would need to install ethers.js
npm i @web3-onboard/react @web3-onboard/injected-wallets ethers
And then use it subsequently, as shown below.
import { ethers } from 'ethers'

....
// create an ethers provider
let ethersProvider

if (wallet) {
 ethersProvider = new ethers.providers.Web3Provider(wallet.provider, 'any')
}

....
3. Utilize Code Splitting and Dynamic Imports
It is important to note that bundle size is not the only key metric to measure when trying to assess the end-user experience. What is actually served over the network when the end-user loads your application also matters too. This is where code splitting comes in.
Code splitting is a performance optimization technique that uses dynamic imports to strategically split the codebase into smaller parts that can then be loaded on demand at an application runtime when needed. While this does not necessarily reduce bundle size, it does reduce the code served over the network to the end user, significantly lowering network bandwidth costs.
Combined with package modularization, Web3 Onboard provides faster load times— a crucial component in creating efficient dapps.

Take the getCommon function, which creates the common instance used for signing transactions with hardware wallets, as an example. Although the ethereumjs/common packages comprise about 23% of the @web3onboard/core package, it's only loaded when the users need them, greatly reducing the load time.
const { default: Common, Hardfork } = await
import('@ethereumjs/common')
Let’s demonstrate the above statement with a practical example - a React app with @web3-onboard/core @web3-onboard/injected-wallets configurations.
On the surface, here’s @web3onboard/core and @web3-onboard/injected-wallets bundle size, respectively, with a combined size of 922.8 kB.

However, let’s examine what is served to the user's network using the in-network tab of chrome dev tools.
The screenshot below shows a React app with three connected wallets: MetaMask, GameStop, and Binance Smart Wallet.

As a result of our performance enhancement approaches, here’s what is relayed over the network— an approximate total of 44.7kb.

To demonstrate how we can create an efficient onboarding experience by combining dynamic imports and excluding large external dependencies, let's look at a more concrete example. This time, we will be using the @web3-onboard/ledger - The Wallet module for connecting Ledger hardware wallets to web3-onboard.
The module uses the official @ledgerhq/hw-app-eth package, which has a minified bundle size of 1.2MB. However, by dynamically importing it, as shown below, we’re able to drastically reduce our @web3-onboard/ledger bundle size to just 425.7KB.
const Eth = (await import('@ledgerhq/hw-app-eth')).default

Having said that, let’s examine how the module is served over the network for a sample React app created using the popular create-react-app setup.
import './App.css';
import Onboard from '@web3-onboard/core'
import ledgerModule from '@web3-onboard/ledger'

const ledger = ledgerModule()
const onboard = Onboard({
 wallets: [ledger],
 chains: [
   {
     id: '0x3',
     token: 'tROP',
     label: 'Ropsten',
     rpcUrl: 'https://ropsten.infura.io/v3/cf540cb0b3b643d399e59aef4f5ac179'
   },
   {
     id: '0x1',
     token: 'ETH',
     label: 'Ethereum',
     rpcUrl: 'https://mainnet.infura.io/v3/cf540cb0b3b643d399e59aef4f5ac179'
   }
 ]
 })

async function connectWallet() {
 const wallets = await onboard.connectWallet()
}

function App() {
 return (
   <div className="App">
     <header className="App-header">
       <p>
       Onboard core + ledger
       </p>
       <button
         className="App-link"
         onClick={connectWallet}
       >
         Connect with Ledger
       </button>
     </header>
   </div>
 );
}

export default App;
After building our starter app, the build files had a combined size of 146KB. Now, let’s install @web3-onboard/core and @web3-onboard/ledger. We will use the basic setup in the ledger module documentation and our aforementioned chain setup.
Although the combined build size was ~6.8MB (including node polyfills), what is actually served to the user, as seen above, is about 2MB.

These size reductions highlight the importance of taking a critical look at what is actually served over the network when choosing a web3 connect library.
Get started with Web3 Onboard today!
Using the three main performance optimization strategies discussed above, any web3 developer can use Web3 Onboard to create more efficient, better optimized dapps. Web3 Onboard empowers developers with a framework-agnostic, multi-wallet library that your users can connect with. To see our full library in action, check out our live react demo here or dive right into the code base behind it here.
Developers can also leverage Web3 Onboard push notifications by signing up for a free Blocknative account today.
We encourage all web3 developers to join our Discord community and let us know what new features or libraries you would like to see next to make developing with Web3 Onboard easier!
Observe Ethereum
Blocknative's proven & powerful enterprise-grade infrastructure makes it easy for builders and traders to work with mempool data.
Visit ethernow.xyz
.png)

